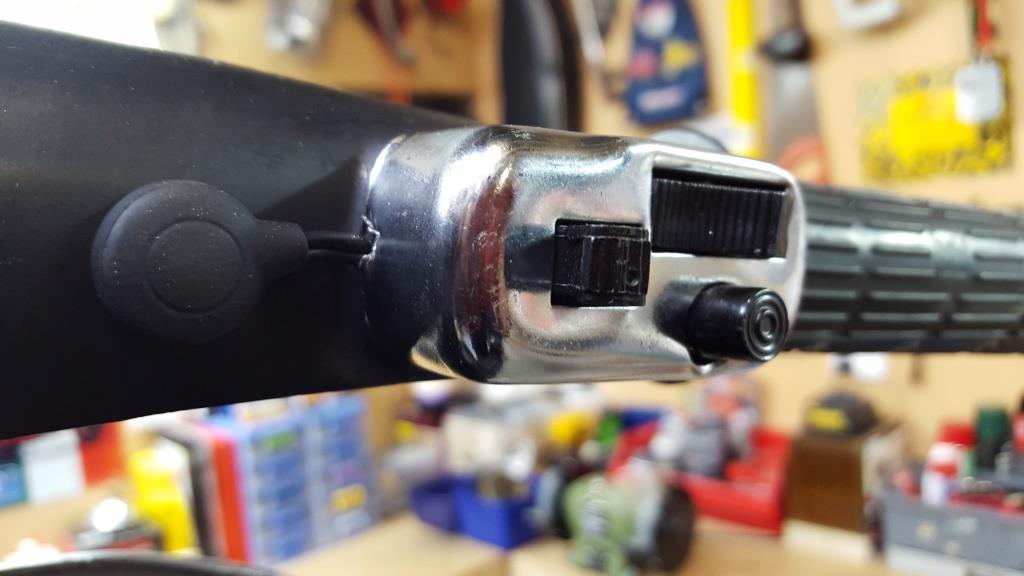
It’s the change of season here in the deep south right now so one day you could be mowing your lawns in relative comfort and the next its howling a gale and wet. Today has been howling and wet, so after a couple of days in the shed, once the jobs have been done, has got the Bajaj scooter nearly ready to go with all the SIP goodies. After reading the instructions that came with the SIP speedo, yesterday was spent running the new cabling for the speedo and finishing the cabling for the indicators and front brake. I mounted the LED flasher unit in the headlight cavity to connect to the 12v headlight feed and ran the cabling for the indicator switch and the speedo switch through the headset. Some of the slack for the cabling ended up in the horn cavity but should be OK there.


- minor issue 1
Make sure before you run any of the SIP speedo cabling that the new speedo actually fits in the hole – my original speedo must have been a little bit smaller as the new one wouldn’t fit in the speedo cavity until I dremelled it out a bit with a drill and a metal filing bit thingy. I had to take out quite a bit and as you stand there with a drill having the new cables and connectors right there may be an issue if you slip with the drill.
- minor issue 2
My speedo cable screw on fitting wouldn’t fit onto the new SIP speedo. However because the inner attached to the speedo quite well this may not be an issue. Obviously check and see if yours fits first as you may want to replace the speedo cable with one that fits properly.
- minor issue 3
One of the two brackets that came with the SIP Speedo has to be attached to the speedo unit with 2 screws however the bracket catches on 2 screws already in the body of the new speedo. Not a problem if there were some rubber washers included but there aren’t. A minor thing to fix but added to the other two and for the price of the unit its a pain. Once attached the bracket does line up with holes for the screw that attaches to the speedo from the bottom of the headset. Make sure you tuck the cabling out of the way as the screw will go right into the cabling if you dont.
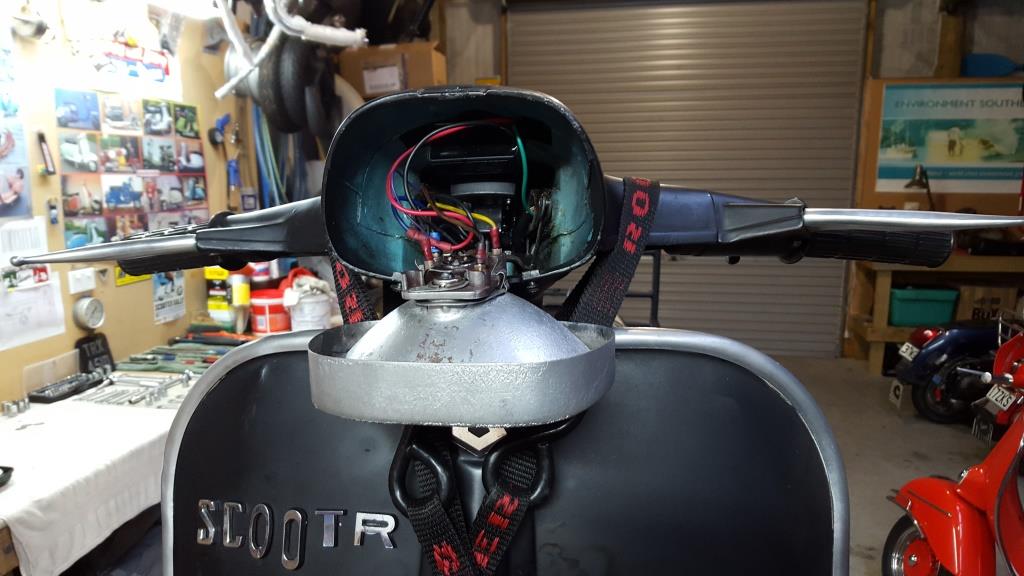
Running cabling through the body of a vespa can be frustrating by yourself, especially with new cabling that has largish connectors on the ends. I think SIP should standardise their connectors for the speedo as there are 3 different sized connectors which seems a bit dumb. Prepare yourself for some frustration and have a few cans of beer handy. I found it easiest to take the headset and the horn off and just get the cabling from the cavity under the tank to the horn cavity first and then use a wire to pull the cabling up through the holes surrounding the fork and into the headset. If you are careful they will all go through there as breaking a connector would be a real PITA.
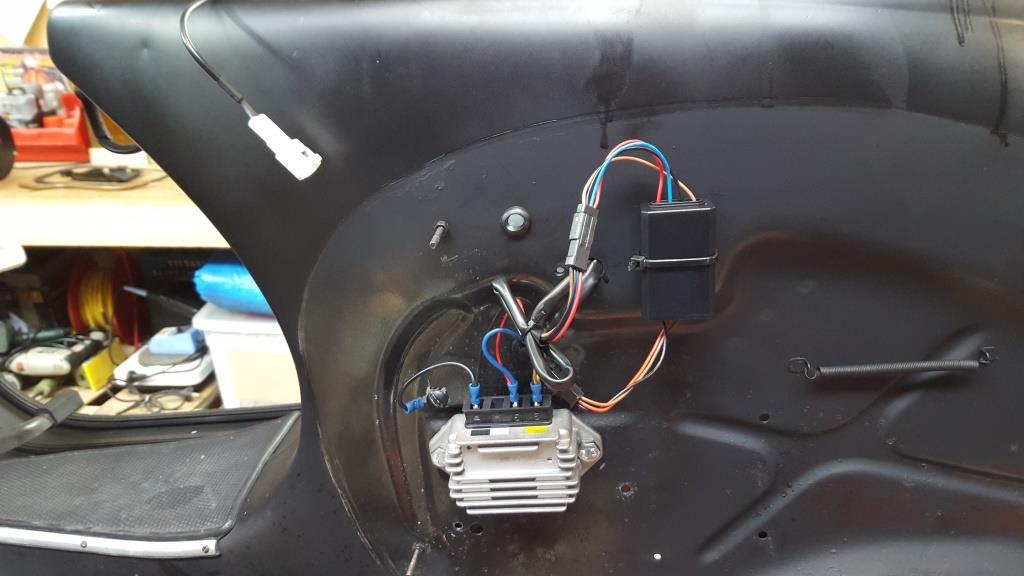
I had decided to mount the power unit for the SIP Speedo adjacent to the 12v regulator in the left hand side pod so that it would be straight forward to wire it up. This meant getting the power wire cable extension, the fast flow fuel feed cable and the spark plug heat sensor cable through from the headset. Make sure you check the cables connectors before you pull them through the frame so that you dont do what I did and pull the wrong end through so the connectors dont match. Just take your time and get them through to the horn cavity. Getting them through to the headset was easy enough however its a tight squeeze in there and you may need needle nosed pliers to help pull the connector through the cable slots. Cover the connectors with tape as they get covered in grease at this point.


Once your cabling is in place its just a matter of following the SIP Speedo instructions on how to connect the cabling to the scooter, spark plug and the fuel tank. The bajaj never had a battery but has been upgraded to a 12v lighting system for some time now so placing the speedo power unit next to the regulator made more sense than trying to hide it somewhere else. The 3 wires for the unit on my AC system are: black is earth, brown is the lighting system and red being power from the stator were crimped onto the existing connectors I had there for the regulator. There are 2 wiring diagrams depending on whether you have a battery/DC based system or not.
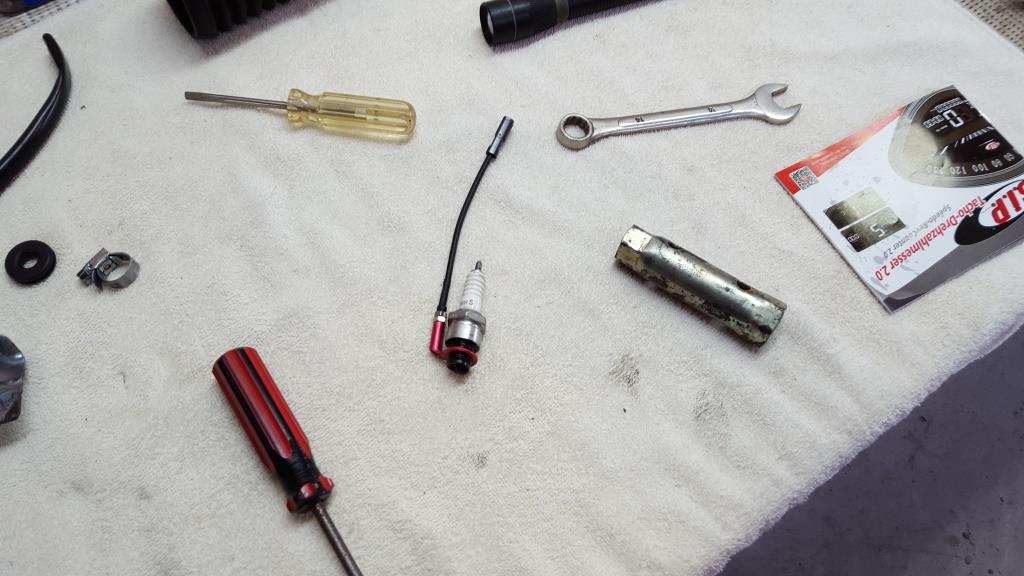
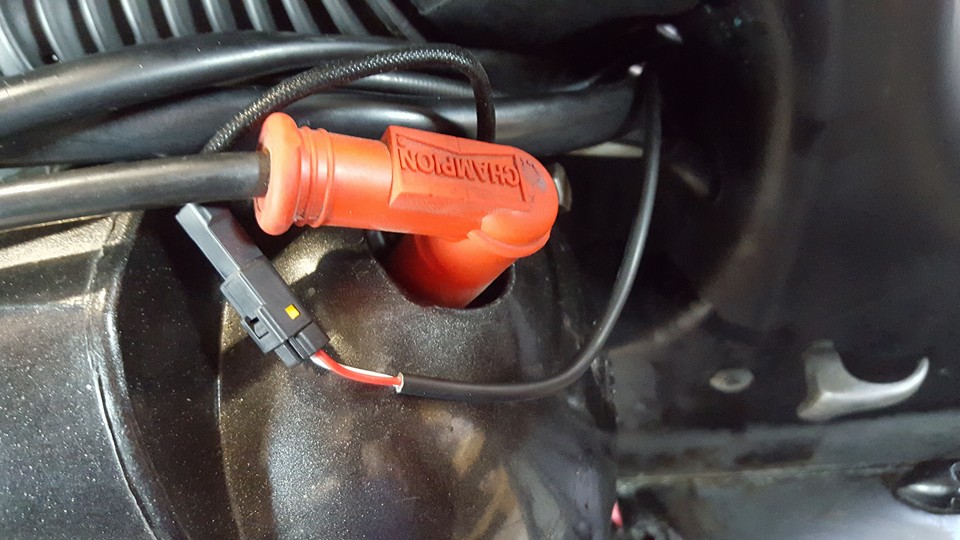
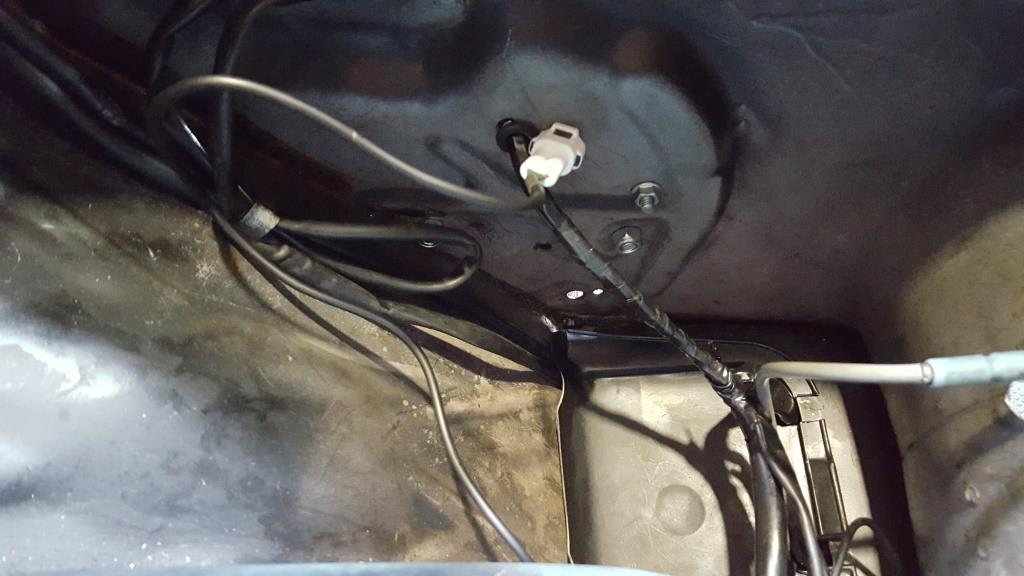
The temperature sensor is connected at the spark plug and you need to be careful when tightening up the plug not to get the sensor cable stuck against one of the cylinder head fins or it will just break off. Take the shroud off before you do this so you can see what you are doing. The fast fuel cabling just plugs into the connector from the tap once you are ready to put the fuel tank back in.
And just while your at it upgrade the rear shock and chuck on a rear rack for the spare wheel and your Moto TT baggage.
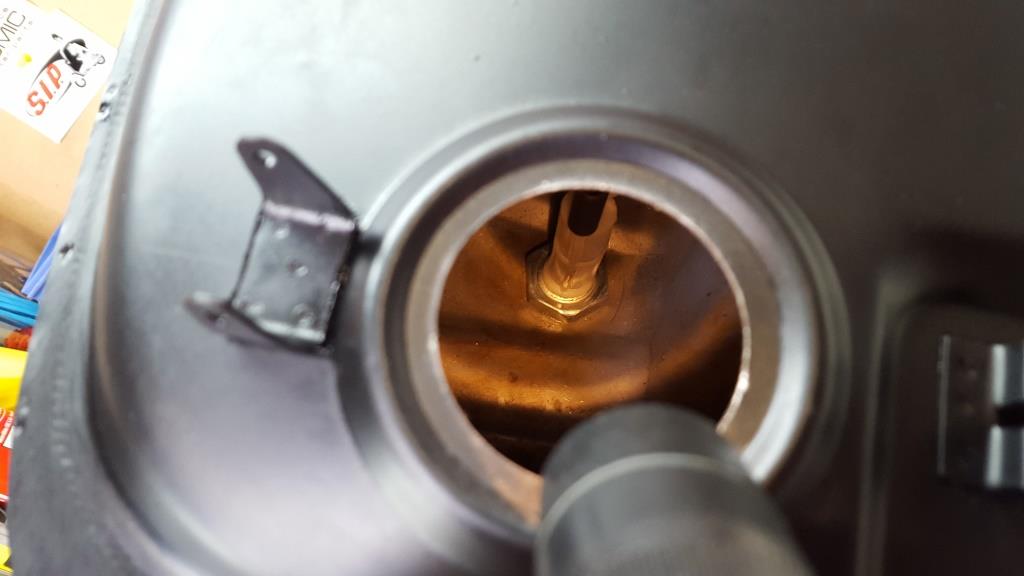
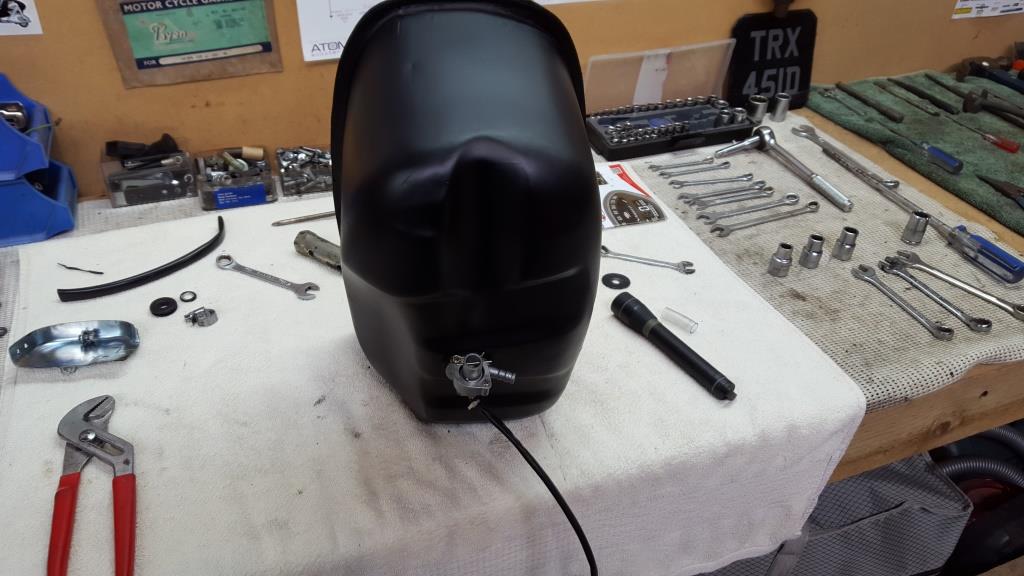
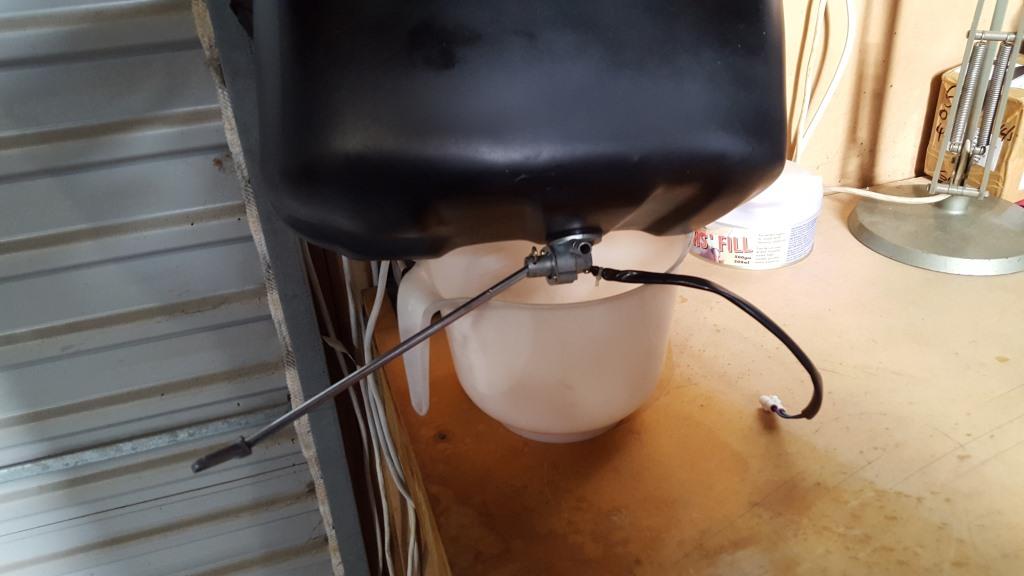
The SIP XXL tank seemed like a good idea as fuel can be a real issue when touring or doing the Moto TT event depending on how thirsty your motor is and how hard you are pushing your scooter. Most of us carry an auxiliary fuel tank but having more in the tank is only a good thing. The tank comes from SIP in the greasy plastic packaging and you just need to primer the tank and the fuel cap assembly and then paint to suit. The cap seems a standard diameter but the arm it is connected to, is longer than a standard tank and the chromed one off the bajaj didn’t fit on it at all. The filler is located towards the rear of the tank so when you go to use your fuel tap tool you will find that the angle of where the filler is in relation to where the fuel tap screws in isn’t right and the tool is almost useless. I managed to “catch” the fuel tap screw with the tool, just enough to do it up. Un-doing it may be a real mission down the track…. Also you may need a longer fuel lever and while the fast flow fuel tap from SIP comes with one, you may also need a longer fuel line, something I didn’t think about until I tried to install the tank using the old fuel line.
Hopefully in the next update I will have:
- working 12v LED indicators
- a working front brake switch
- a registered and warranted scooter
- a working, backlit electronic speedo/rev counter with a temperature guage and low fuel indicator
- a larger non leaking fuel tank
- a better rear shock and somewhere for the spare wheel to live
6 thoughts on “Bajaj scooter update 15”
You are really going all out on your Bajaj – impressive!
If yours is a Super (like mine) it is actually on the exemption list for indicators ie not required for wof. Also front brake switch not required on older bikes. My Bajaj is standard original 6 volt,no battery ,no indicators (no brakes ha ha) and has gone through 2 testing station warrants fine after I finished fixing her up ( new tyres,brake shoes,bearings,coil ) In fact they didn’t even question the lack of indicators – but the Bajaj Super is definitely exempt. Take care! Rick
Hello Rick,
had to get indicators and a front brake switch to get a warrant unfortunately.
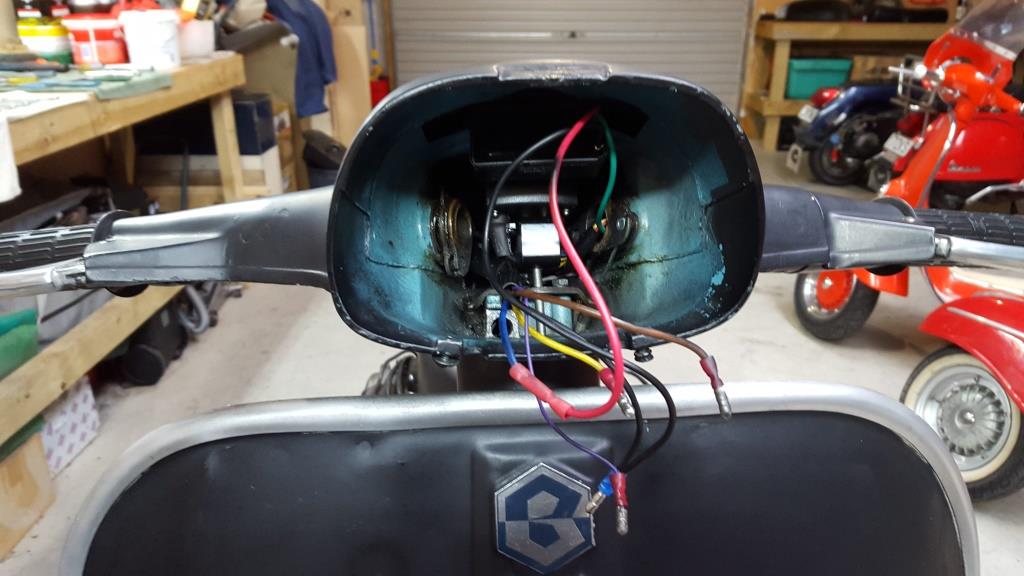
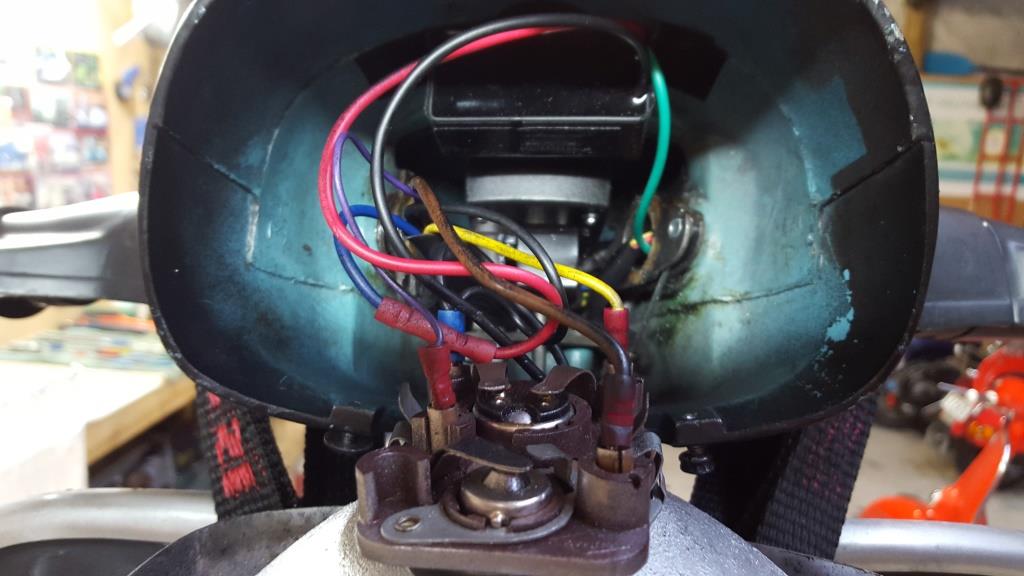
Can u please uplaod the horn light switch wiring details.
Hello, this is the wiring I’m using.
Hi how many ltr’s Does your SIP tank hold. I have one the same and it only holds 7.5 ltrs
Hello Alan
I thought there would be something like 8-9 litres but somehow mine only holds the same as yours.
Perhaps the extra capacity got lost in the freight from SIP?