1979 Honda XL500S – Tank 2
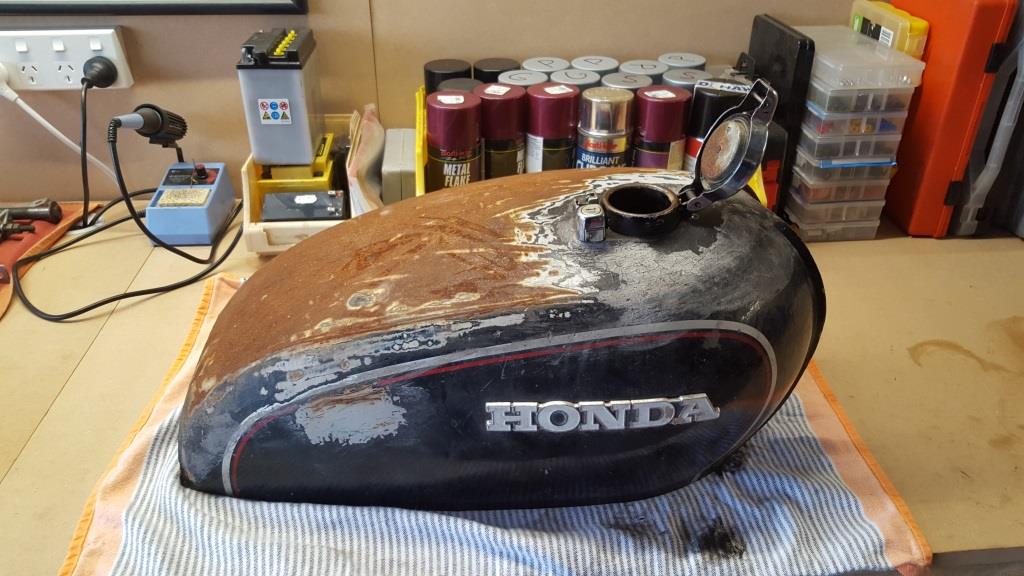
The petrol tank is one of the things I have spent the most time on over this entire project. After trying 3 tanks I decided on one that came off a 70’s Honda bike. I’m not exactly sure which model it is off but it looks good on the bike and because of its size and shape, it has allowed me to hide most of the new wiring in it’s tunnel.
It looked like the previous owner had left the tank outside for a bit as the paint was shot and it had a bit of surface rust but it didn’t leak, had the factory tap and fuel cap and only had a few dents to sort out. Inside the tank there was also a bit of surface rust, as you would expect and after a few cleans with some nuts, bolts and water it was basically in a condition to rust treat and line the interior of the tank with some Por-15 tank products.
A Trade Me seller has the Por-15 based Fuel Tank repair kit available at a good price and has the following components:
- POR-15® Cleaner Degreaser to remove gum, sludge, varnish
- POR-15® Metal Prep to remove rust & prepare tank for sealer
- POR-15® Fuel Tank Sealer to permanently seal tank
- Detailed Instructions so you’ll do the job right.
Depending on the size of your tank you may want to investigate getting larger bottles of Degreaser and Metal prep as you may need to apply more than one coating. It’s quite a labour intensive job and you must follow the instructions or you will just waste your time and money.
For this tank the interior treatment was just the start of a long process. The exterior paint was stripped then the dents were filled in – one came out with a long piece of metal just angled the right way through the petrol filler. The tank was then painted with rust inhibitor and primed.
Its been a good learning exercise to get the tank to where it is now but If I was to do another project similar to this one, I would just buy a new tank or a used one in excellent condition. Also I would get a professional to prepare the tank for painting especially with using filler and applying a thin skim coat over the surface if required.
It looks okay but I have decided to take it to a painter, so I can now concentrate on the wiring.
Need any help with your XL500 ? Get in touch – Contact Us
