Bajaj scooter update 14
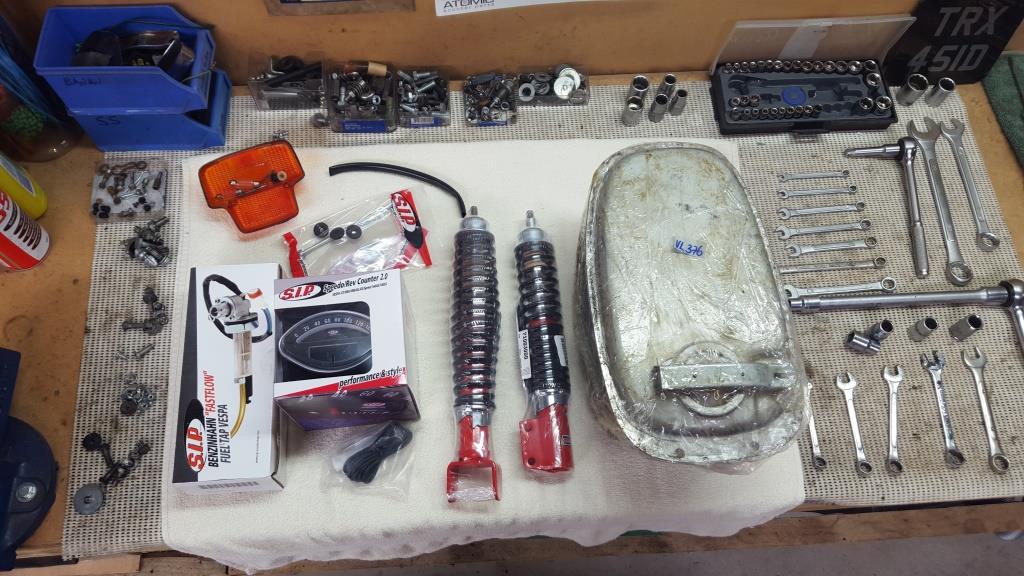
Sante has come early in the Southern Scoot workshop with new parts for the Black Roughie and some other projects on the go. Hopefully, the Bajaj will be the next scoot to complete next years MotoTT (which most scooterists still call the Mille) and its time for some new bits and pieces to upspec. The SIP speedo and fast flow fuel tap should work nicely with the bigger long range tank and the rear suspension is pretty bad at the moment so a new adjustable shock should sort that out. There are also some tubeless rims somewhere…..
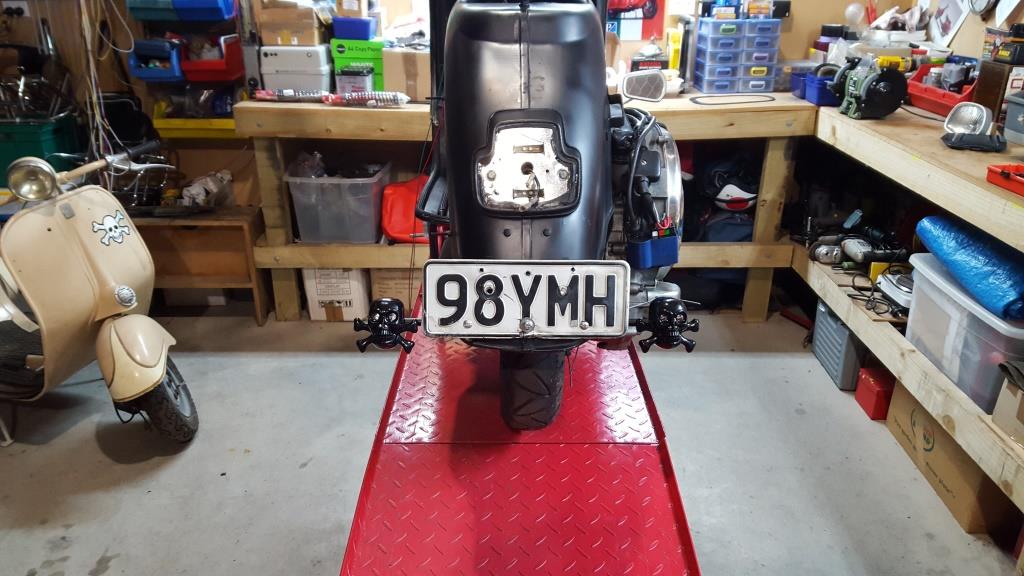
Also to compete it needs to be warranted and registered. The man at the motorcycle shop said “it just needs indicators and a front brake switch”, something I have never done before. Way back when, the Bajaj had indicators that looked hideous and most people just took them off and stuck their arm out for corners, which is how this one was when we got it.

Bajaj front brake switch
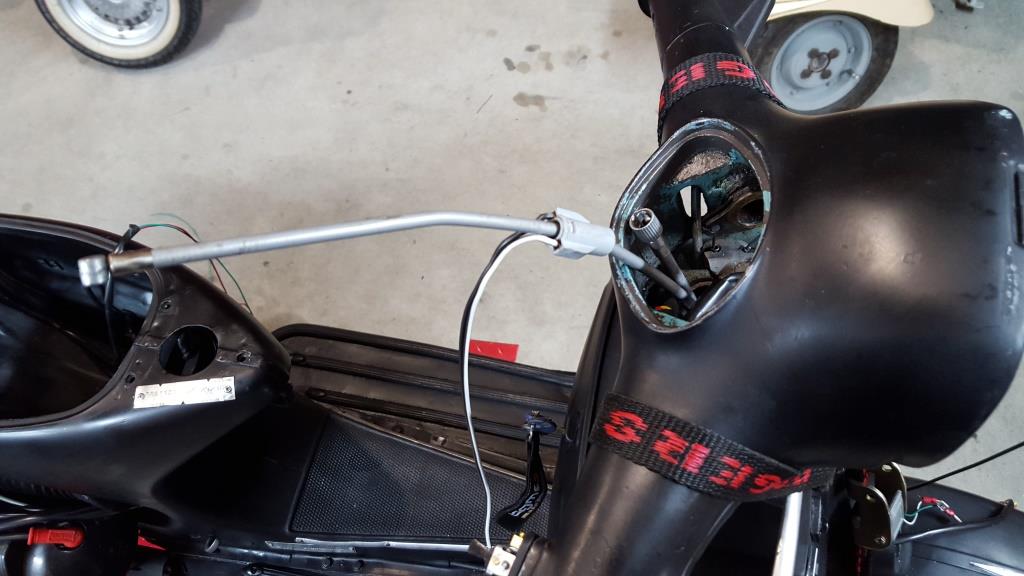
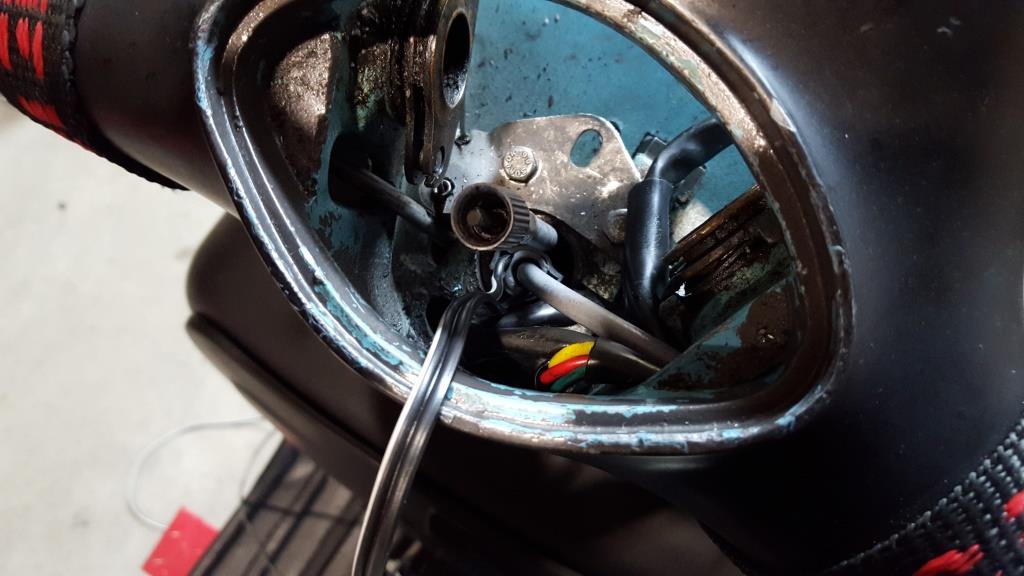
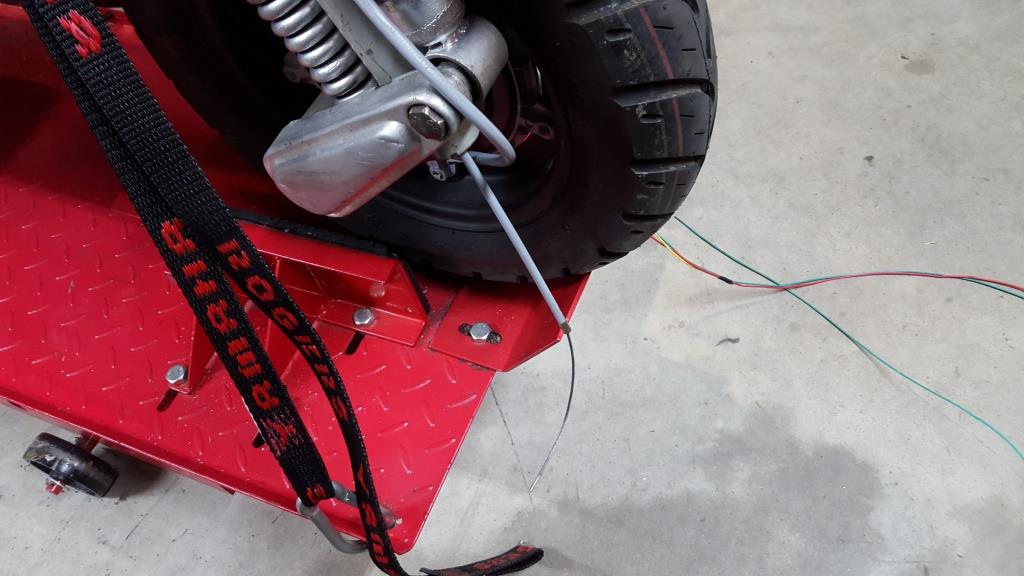
The front brake switch is something the later model PX’s have but the Bajaj never had one so time to get one installed. The PX’s use a pretty common inline compression type switch which works by installing the switch as part of the brake cable. The cable sheath needs to be cut at a place where the switch can be located with out getting in the way of anything else. Reasonably straight forward on a PX with the amount of room in the headset but a little trickier in the Bajaj, SS, GL type headsets as there is limited room.
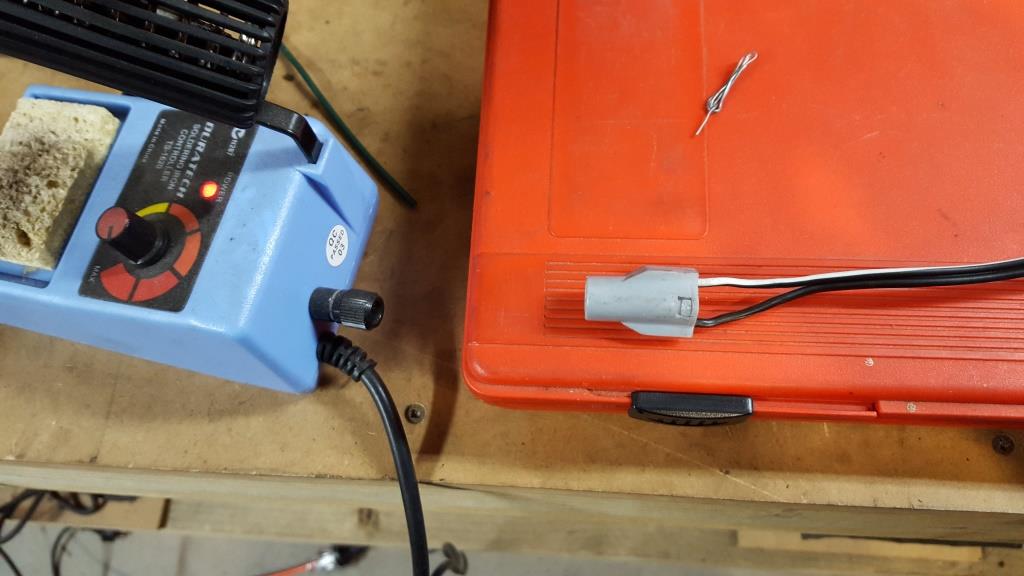
You have to solder on two wires to the switch, and getting the inner part out of the switch is either really simple and just takes two minutes or is a real pita and you nearly wreck the thing trying to get it out. Once its out its just a matter of soldering on the cables, I used some speaker cable I had lying around, putting the spring back in and closing it back up with a pipe wrench or some other adjustable jaw tool.
You will have to estimate or measure where to cut the cable sheath to place the switch and make sure you remove the inner cable before cutting the outer. I had an old cable sheath that I used to get the measurements right before I made the cut. Some cable outers are ridiculously hard to cut even with a hacksaw however the ones I have can be cut with electrical cable shears. For me it was just a matter of trimming the sheath and trying it until I got it to fit into the fork hole with just the right amount of brake cable sticking out of the fork leg. The wiring from the switch now just needs to be run down to the foot brake switch.
Bajaj indicators
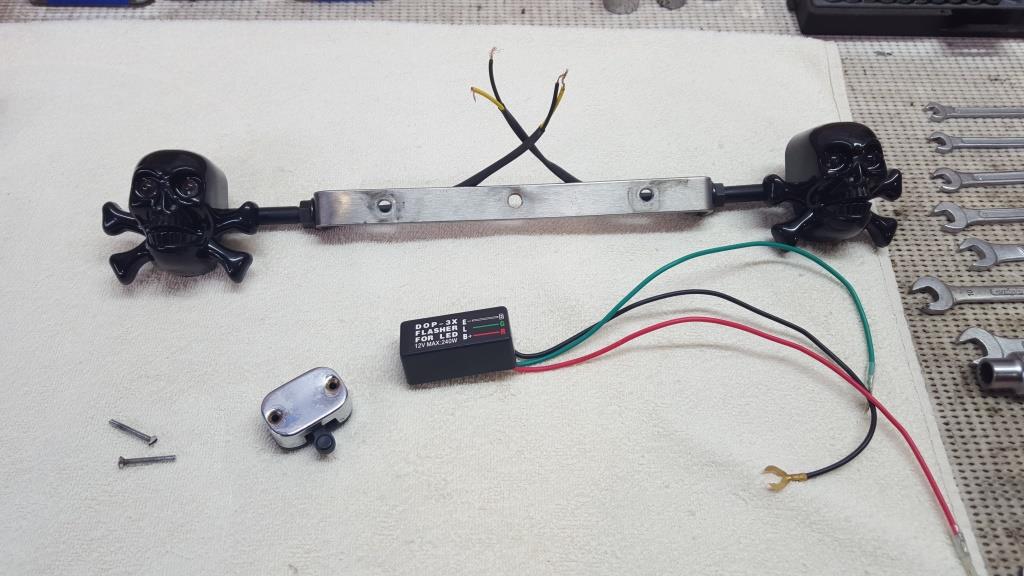
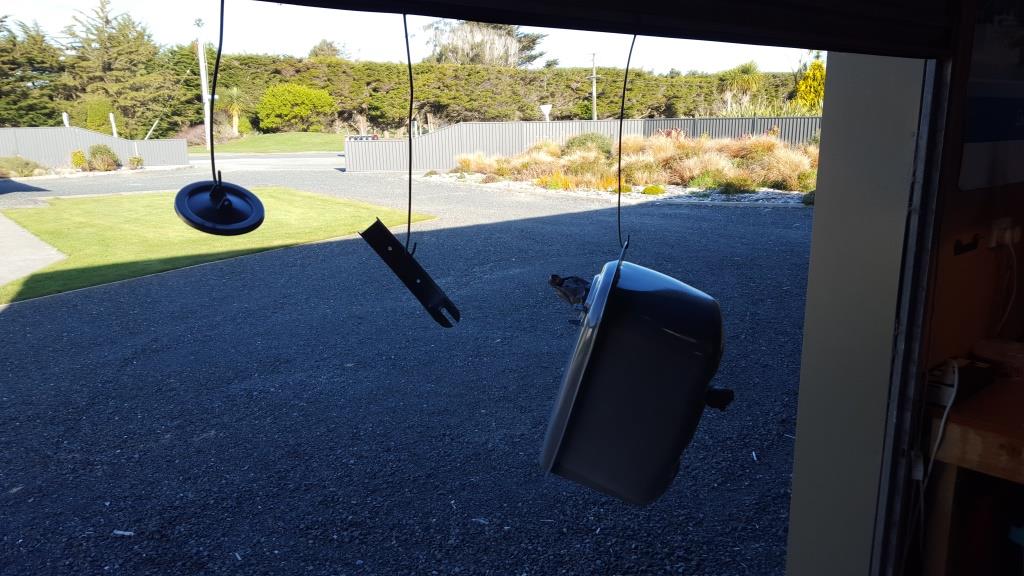
The Bajaj came with a broken indicator switch that has proved quite hard to find as its an odd rectangle shape to whats around with the more common round ones and larger PX style ones. I got one of the round ones but it didn’t cover the existing screw holes in the headset so I butchered the rocker assembly out of that to fix the one I have and just need to find a rubber gasket that will fit the switch. I found some skull LED lights on traders that I liked and a 12V indicator unit designed for the very low wattage LEDS. If you get the wrong one the LEDS wont flash or may flash once as the unit is rated to supply X amount of power with X amount of load.
The Roughie already has a 12v system so now its just the fun bit of cabling to do. The Bajaj originally had the spare wheel mount on the leg shield right where the glove box now lives and had two threaded holes that went into the fork/cabling cavity. I used the lower hole to run the front indicator cabling up to the horn cavity. This took ages with various wires, string and hooks tried until a couple of zip ties taped together finally got the cabling through.
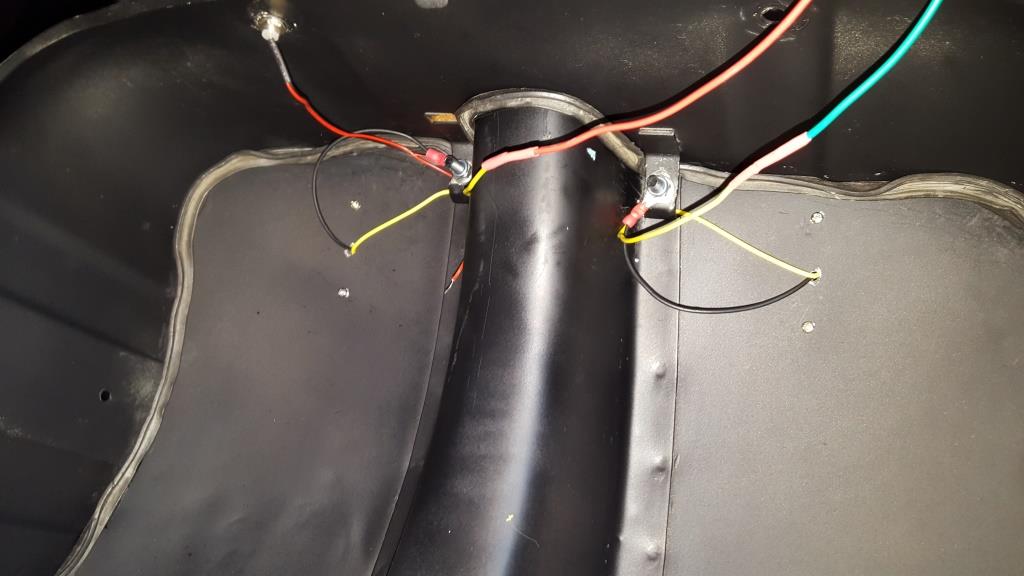
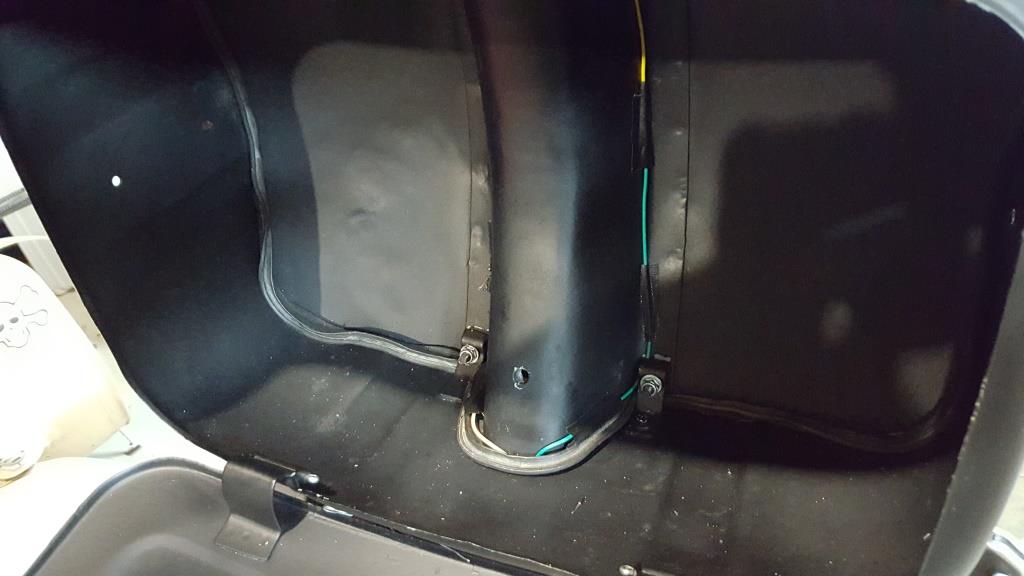
I have discovered what a marvelous wiring tidy, gaffer tape is. Its awesome and just makes the job look a little more professional and is a practical solution to keeping wires out of the way. I still have to run the rear indicator cabling through to the switch but will work that in with the SIP electronic speedometer/rev counter cabling that needs to be done at the same time.
SIP XXL tank
While I’m doing this cabling the new fuel tank has now had a couple of coats of primer. When it came out of the box I thought “there’s no way that will all fit in there” but it fits nicely. One thing you may need is a longer fuel tap rod. The fast fuel tap that SIP sells comes with a nice alloy one included in the box. Also the petrol cap is a different shape to the standard one and sadly doesn’t come with either a rubber or cork seal – something SIP should look at including in the future.