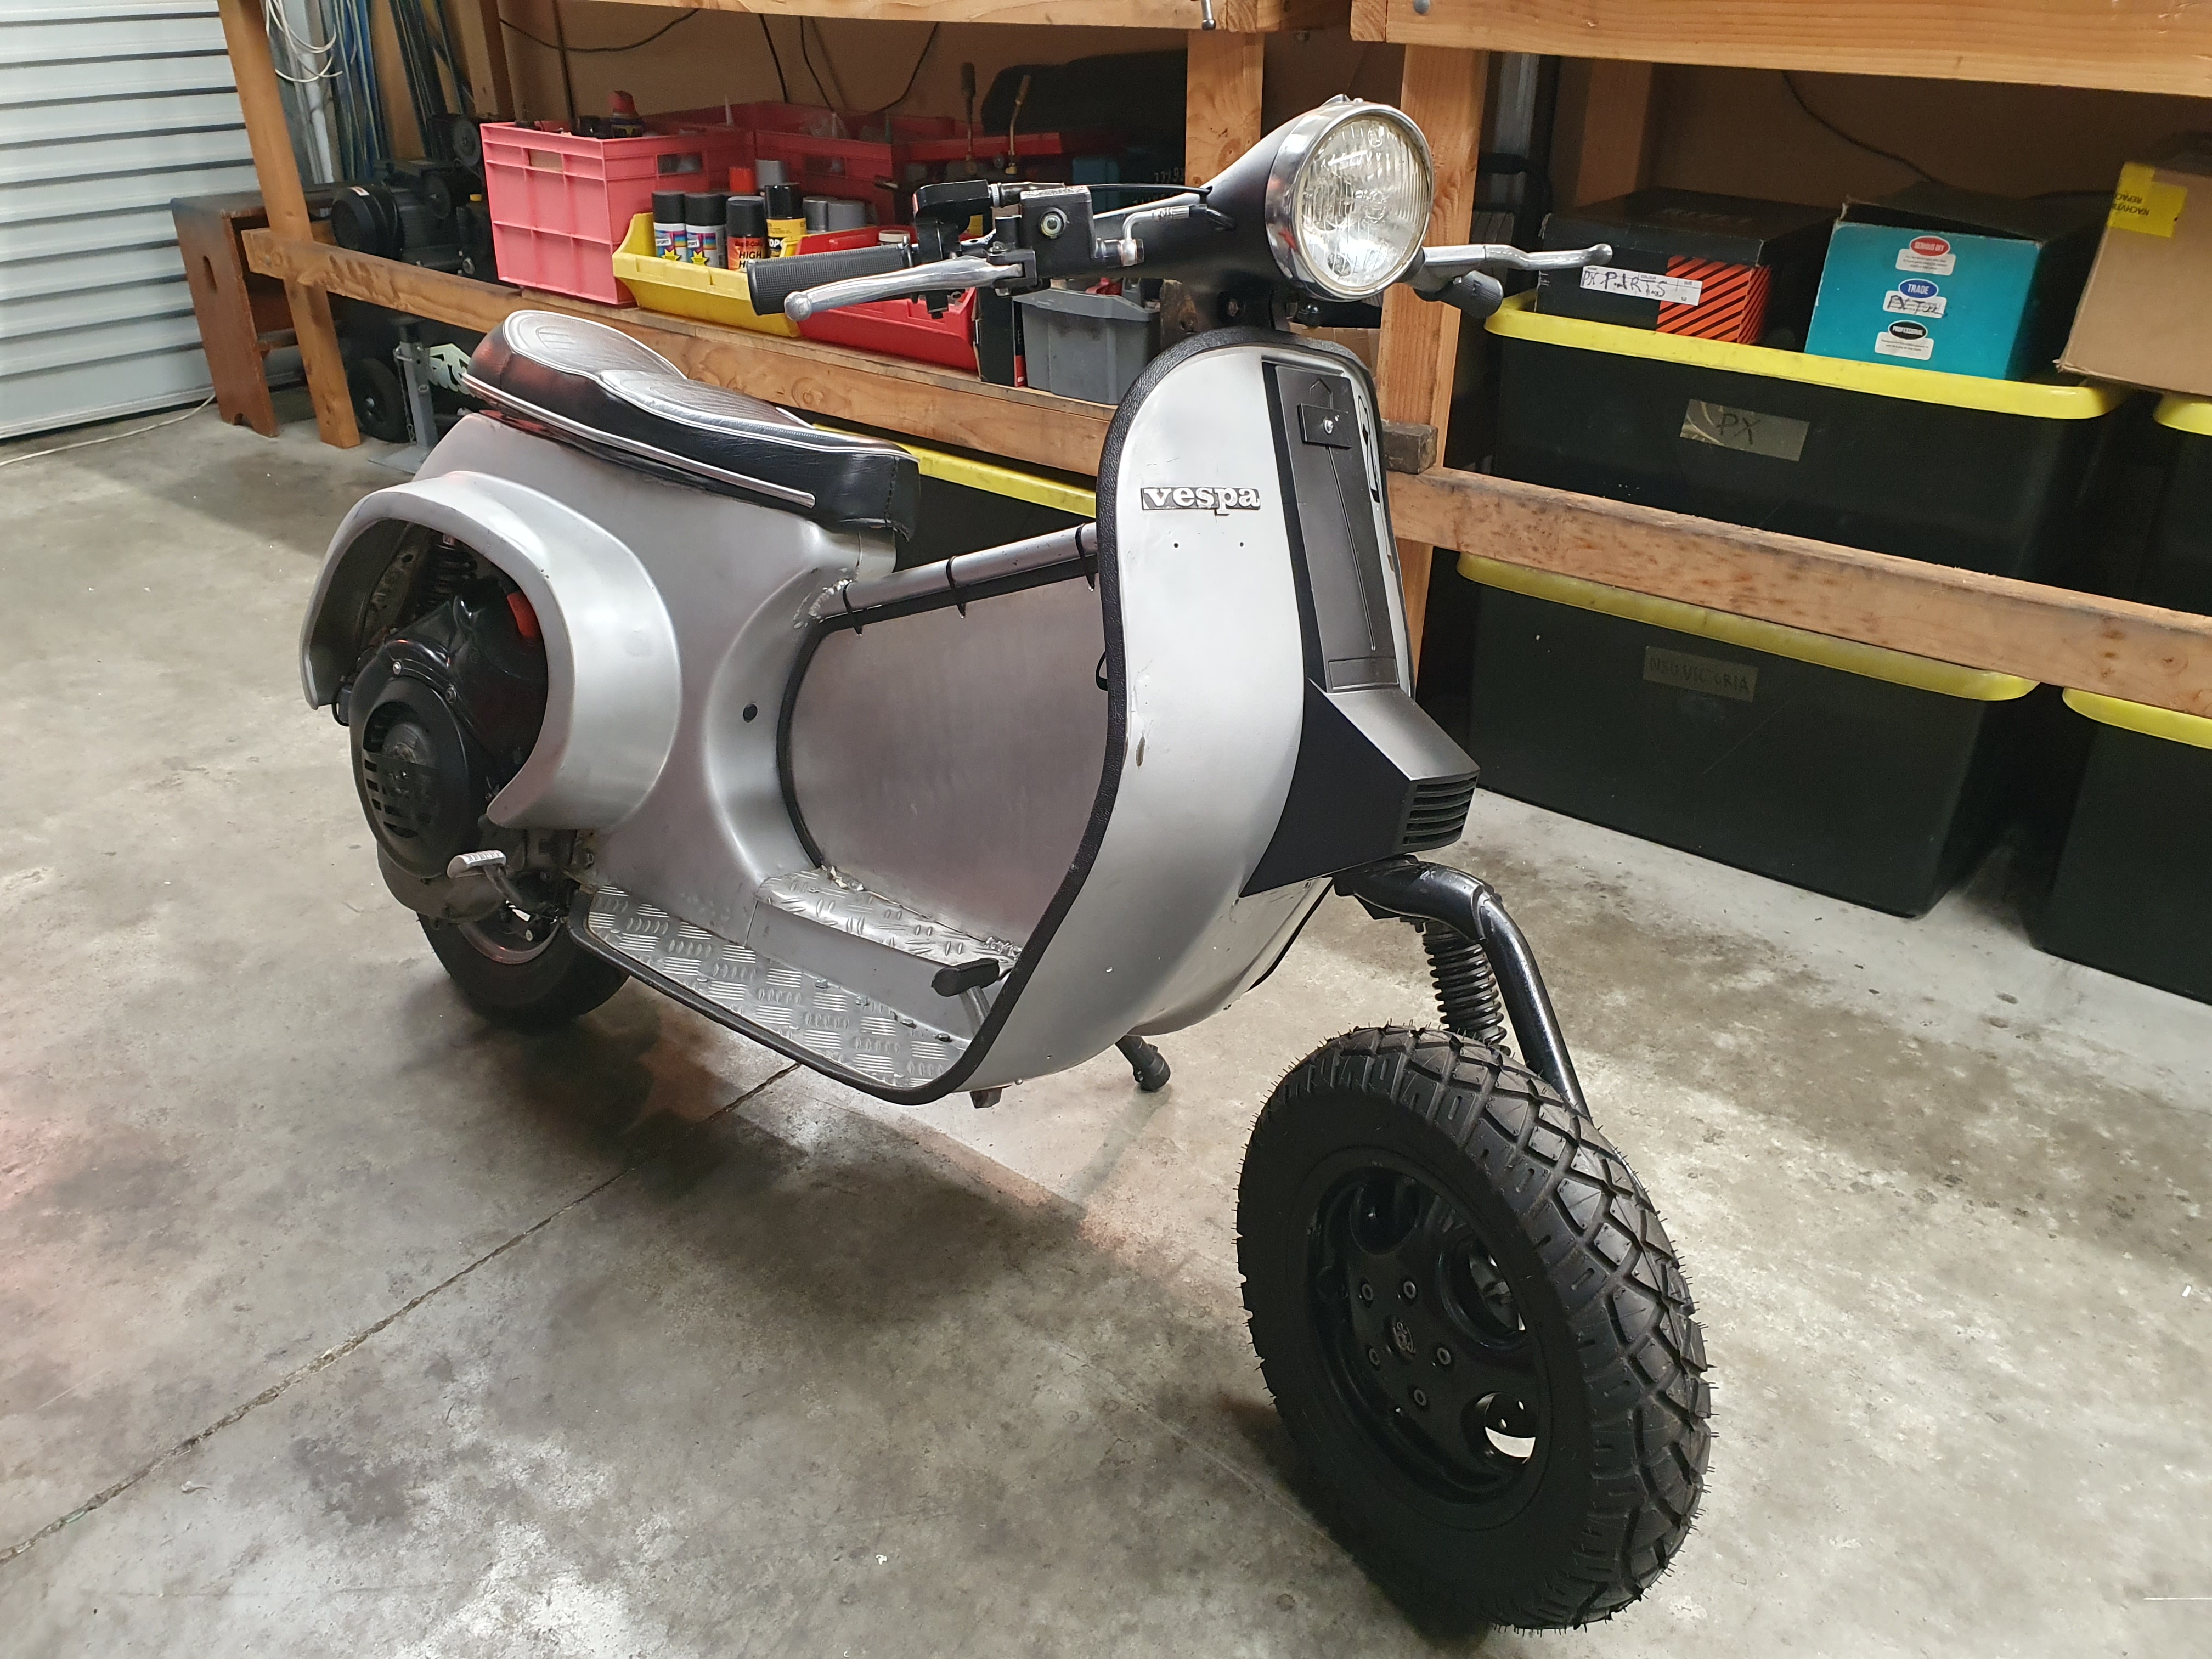
The PK came with a standard fork and front drum brake. These forks are reasonably sought after as they can fit into a lot of vespa frames without too much modification and you can add a disc brake assembly from a PX or an aftermarket Crimaz unit to them. You may have to adapt the headset you are using for a master cylinder or go with a semi-hydraulic solution. Generally, with all disc brake conversions the hardest part is making the original mudguard fit the new fork.
I chose this option because I had a complete ET2 disc brake fork and a modified Sportique headset needing a home and it was going to be something different from what other people normally do with their conversions. Yes, there is more work involved but this bike gets a disc brake and the PK fork is then available for another build.
The ET2 Disc brake and fork is quite different to the PK and PX variants that one would normally use in a disc brake upgrade as below:
- The most obvious thing is the fork leg, shock and wheel assembly is on the left-hand side of the front wheel.
- The ET2 caliper will only fit on that brake assembly and a PX caliper wont.
- Depending on the headset used you may also have to adjust the top of the fork for the fork bolt to fit properly.
- Some forks have holes in them for the brake line and the speedometer cable, not the ET2.
- The PX has a different hub assembly for fitting standard wheels where the ET2 has a five bolt fixed hub that only takes ET and LX wheels.
- The cables you buy now are thicker and less flexible than the ones that were used in the 60’s
- Finding disc brake lines with removable fittings can be expensive.
The PK didn’t have any lights when I got it and the cabling loom was very basic. It was originally a 6v system and still had the 6V stator, similar to an ET3, and brake switch. Interestingly some PK’s were 6v, some were 12v and some had a mix of both. Finding information on stators and wiring diagrams was painful to say the least. The engine had an external coil that was wired to a four pin CDI unit. I don’t know if this ignition was factory for this engine but it’s what I have to work with.
Most of the PK 12v wiring diagrams online show a blue wire feed from the stator to the regulator for the lights. This stator didn’t have a blue wire but had a yellow wire from one of the lighting coils which didn’t work as expected with a standard 12v Regulator. Depending on the crankshaft in the engine I may be able to update to a 12-volt system.
Wiring the frame made sense as there were new cables and headset being used for this project and I like to have operational lights on my scooters to make the VTNZ process easier if I decide to do that. The Sportique light fittings and the light switch were spares out of my cack pile and I’m happy with how the rear light looks for now.
