1979 Honda XL500S – Fabrication
Other than building the seat base, the exhaust system and fittings there hasn’t been too much “fabrication” to do on this bike so far.
There are a couple of things that do need sorted out, other than the electrical system, wheels, brakes, etc, etc;
- Handlebars, switches and cables
- Headlight and mounting
- Speedometer and bracket
- Tail light and bracket
With a decision finally made on the tank for the bike and the new seat made, the handlebars seemed like the next logical choice to be made. The donor CBR600 bike had clip-ons that really suited the riding position of that bike. When I tried them on the XL, with the new tank and seat in place, they didn’t allow a very sharp turning radius before actually hitting the tank. While there is some modification to be done on the steering lock system because of the alterations to the triple tree, this wont make the actual steering lock any better with these bars. Moving the clip-ons up or down the forks isn’t going to work with out modifying the top tree clamp because it came off another bike. Also I’m not particularly keen on the falling forward stance that clip-ons have and then having your upper body weight totally supported by your wrists.
Deciding on new handlebars took longer than expected as it was going to change the cafe racer look to more of a tracker or motard style. I eventually got some flat or drag bars from Trade Me that were quite wide but very comfortable with a more upright riding style. The donor CBR600 bike also had rear-sets, which I thought may have been good to use but the limitations of the frame and having a kick start only engine, put them in the too hard bin.
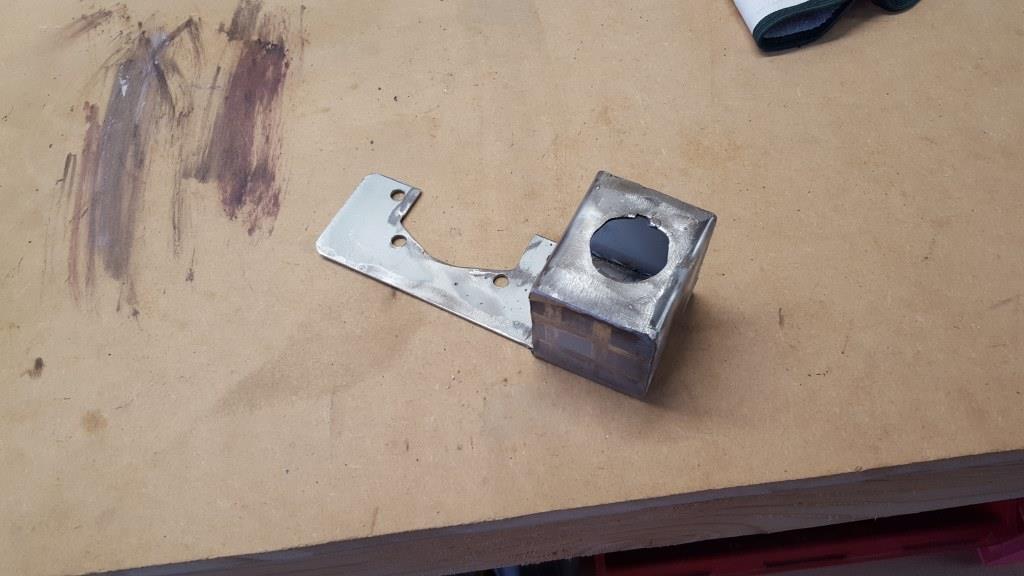
I got a new clutch cable off Ebay and just had to find a way of mounting the front brake master cylinder which was accomplished by using an old light bracket off my push bike. New hand grips, a headlight, ignition key switch, tail light and a switch block were purchased off Trade Me and an electronic speedometer came in the post from Ebay. The choice of speedometer was solely based on not having one and not having a cable solution to fit the new front wheel. This one has a sender unit that is attached to the wheel and you calibrate it for the wheel circumference via the LCD display. Unfortunately it didn’t come with a bracket but the top tree clamp had a couple of mounting points in just the right place.
I had brought a bench mounted metal folder bending brake to help with the making of steel brackets and stuff that needed sharp bends after trying to bend some steel plate in the vice didn’t turn out that well. There is a bit of a learning curve with it, when you want to make certain shapes and how you go about bending which part in what order. Subsequently I ended up making some brackets more than once….
The tail light is an LCD one with brake and number plate lights and built in indicators. I had a pair of indicators, left over from a previous scooter build and will just use those mounted on the brackets that came with the headlight. I wasn’t going to have an ignition switch on the handlebar but because I was going to build a bracket anyway, I thought it would look good beside the speedometer.
So there is still a few things left to do but it’s coming along nicely and thankfully it’s getting a bit warmer out in the shed at nights now.
