1979 Honda XL500S – Seat
The engine now runs and the CB tank is mounted at the front but not the rear. The look I’m trying to achieve is having the bottom of the tank continue on into the bottom of the seat, however with this frame, it won’t be as simple as say a Honda CB road bike or similar where the rear of the frame is relatively flat. The rear of the tank also has a large scallop out of it so this will dictate the size and shape of the front of the seat and where a suitable mounting bracket will need to be positioned. The tank bracket will also need to clear the air filter and allow for the filter to be removed without taking the tank off the bike.
Initially I had cut the rear section of the frame so that I could try a couple of old seats I have, just to see how everything would fit. A cafe style seat had come up for sale on trade me that was left over from another project and was purchased for a good price. It was longer than I needed and wide enough but after cutting this up it just wasn’t going to fit and look any good as it was, so I decided to make a seat. I kept the foam inner as a template for my upholsterer to use as it had the right shape at the rear of the seat and would just need changed a bit at the front.
There are a few really good videos on You Tube showing how to make the seat base and to use fibreglass to complete the rear section, where some builders mount the battery. At about this point I decided not to have a battery and to wire the bike up like one of my Vespa scooters. The stator lighting output will be connected to a regulator and then the power/lighting circuits will be run from that. The bike already has a working ignition so it should just be a matter of figuring out the wiring diagram in the Haynes manual.
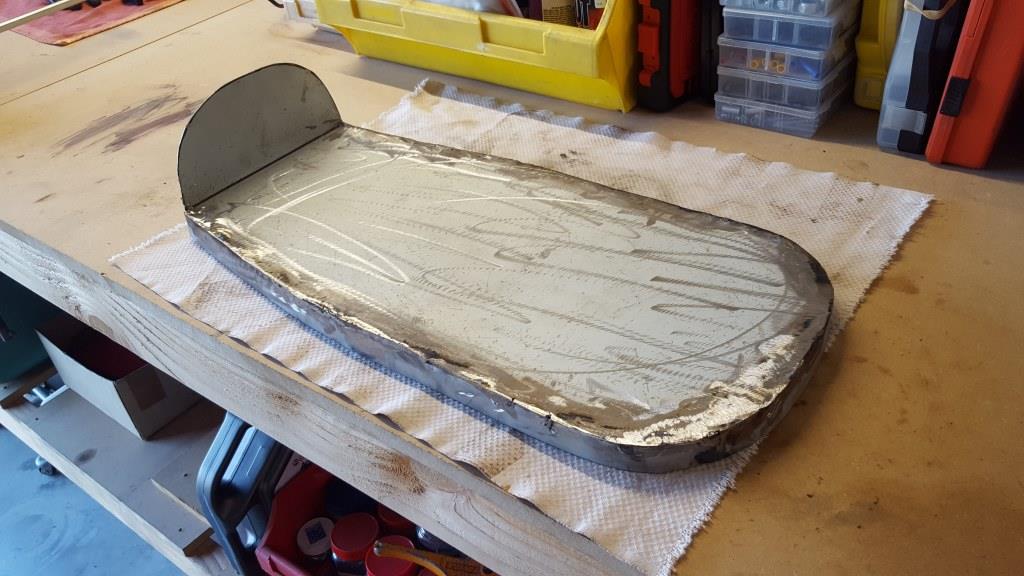
After cutting the rear frame again and then welding the original rear seat hoop back on, but turned upside down, the frame looks not too bad. Certainly not 100% level but close enough for a first time fabricator. After making a cardboard template to fit the rear hoop and butt up to the tank I then used that to cut out a bit of 2mm mild steel I had. Once I had the shape right and bent the front of the seat base, I tacked on a 30mm side strip to try and cover as much of the rear frame as possible.
The mounting points for the seat aren’t the best and I just used bits and pieces that I had around the workshop but will have to do for this project. Re-positioning the original bracket for the rear of the seat to attach to, has worked out well. The Trade me purchased seat certainly made it easier to visualise how a new one would look but I doubt I would have got this far without it. Other than not being able to cover as much of the frame as I would like, I am quite happy with the result. The new seat is very comfortable and butts up against the rear of the tank very well so there isn’t a large gap there. I like the shape of the seat and the upholsterer has got the proportions just right.
Cheers Hemi.
